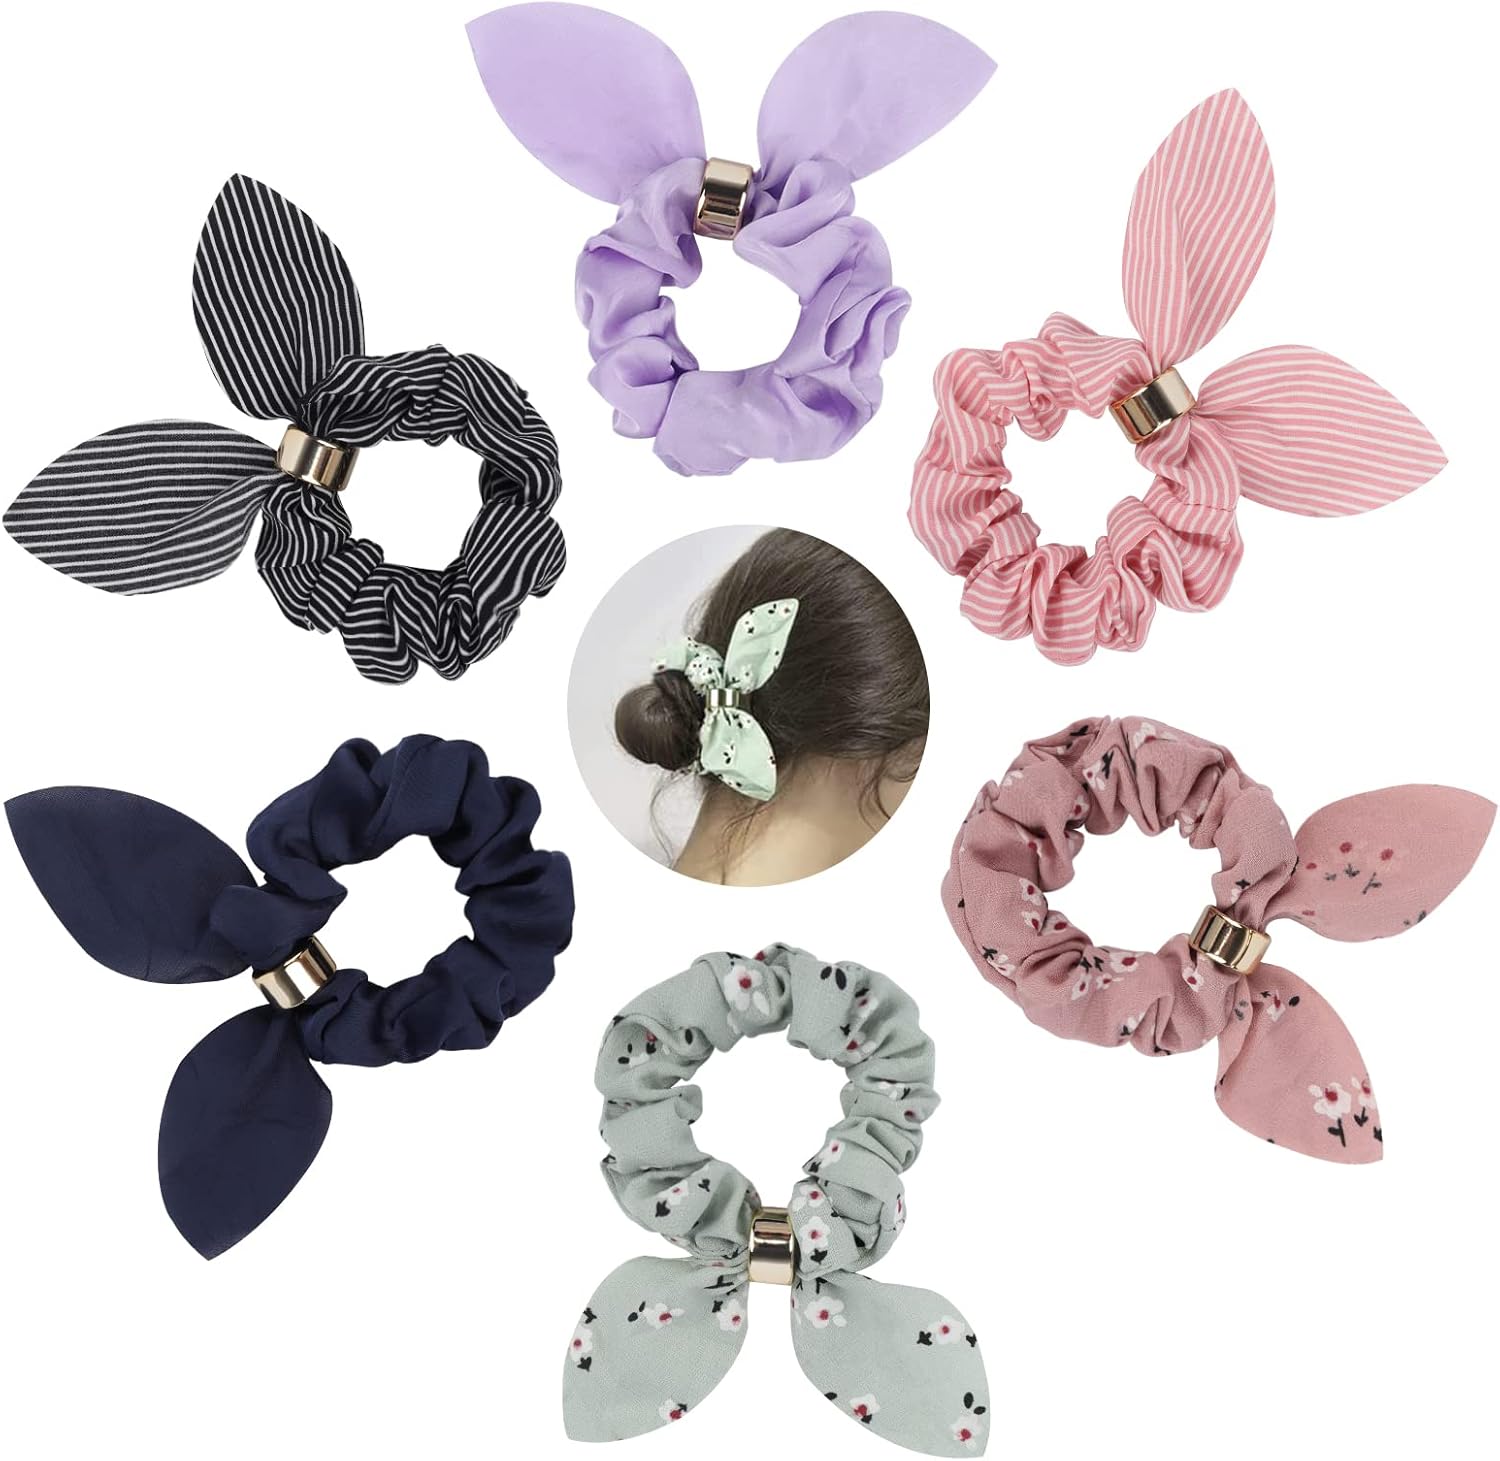
Scrunchies for Girls 6 Pack Large Hair Bow Chiffon Scrunchie Ponytail Holder Elastic Bands Hair Ties Ropes Stripe Hairband Accessories for Women Kids Teenager
FREE Shipping
Scrunchies for Girls 6 Pack Large Hair Bow Chiffon Scrunchie Ponytail Holder Elastic Bands Hair Ties Ropes Stripe Hairband Accessories for Women Kids Teenager
- Brand: Unbranded

Description
Now attach the safety pin to the end of the elastic and thread it through the tube. Make sure you pin the first end so it doesn't pull all the way through by mistake. Your fabric will gather on top of the elastic. Step 5: How to Make a Scrunchie - Thread the elastic Step 6 - Stitch the Elastic After you’ve made a couple of scrunchies, you might want to adjust the length of the elastic longer or shorter to get a better fit. Pull the elastic around so the join is hidden. Then feed the raw edge of the tube into the pressed edge.
A scrunchie is a fabric-covered hairband with gathered fabric on the outside and a hidden elastic inside. They are great for matching your outfit and adding a pop of color to your hair. If you are looking for a particular size scrunchie, you can make your own pattern. For the elastic, choose your finished size and add ½ inch for the overlap. Then, once you’ve made the bow piece, tie it onto the scrunchie. I highly recommend securing the bow with a few hand stitches or a dab of fabric glue.
How to make bunny ear bows for a scrunchie (step-by-step):
You will start your seam from 1 1/2 inches down from the top edge and end your seam 1 1/2 inches up from the bottom edge. I like to use pins as a visual reminder of where to start and stop my seam. Match up the folded edges, so the hair tie is inside the fabric. If this looks confusing to you, scroll up to watch the video tutorial.
Step 3: Using scissors, clip the curves. (This creates a smooth outer edge when you turn the fabric right side out.) Turn the bow right side out through the remaining gap. Press if desired. Hair scrunchies can be made in a wide variety of fabrics to match your style and your wardrobe. Each type of fabric will give the finished scrunchie a slightly different look.
Shopping bag
Then, pin the second safety pin to the other end of the elastic. Use the safety pin to feed the strip of elastic through the tube. When you’ve finished, you should have both ends accessible through the opening on the side of the tube. If you are a beginner sewer, then learning to make your own scrunchie is a fantastic project to start with. Scrunchies also make really nice gifts, as you can personalize them by selecting the perfect fabric for your friend or family member. What is a Scrunchie? This pattern doesn’t take shortcuts – so I can’t promise that it’s the fastest one out there on the internet. But I can promise it will give you a scrunchie with a professional-level finish and no visible seams! You can find the patterns for these scrunchie bows after the pattern for the scrunchie itself. Best Fabric for Scrunchies You can make this scrunchie without a sewing machine by substituting hand sewing with a needle and thread in each step that calls for machine sewing.
Step 1: Cut a rectangle of fabric that measures 22″ long by 3″ wide. Fold the fabric piece in half lengthwise with the right sides together. Pin in place. Almost all steps can be completed with a sewing machine — there is only the tiniest bit of hand sewing required. That said, if you don’t have a sewing machine, you can easily hand-sew all of the steps. (I’ll show you how to modify this pattern into a no-sew project, too.) Scrunchies with Knots, Bows, or Tails After this step, you’ll have a large tube of fabric, right side out, that looks like a stretched-out scrunchie. Step 5. Insert the elastic and stitch the ends together.
Filter Results
You’ll still have a small opening in the tube, right next to the short seam you’ve just completed. Reach into this opening and turn the tube of fabric right side out. It should come through pretty easily.
Here’s what it looks like with pins all the way around. The hair tie is hidden inside the scrunchie. 6. Sew the open edge closed This pattern makes a bow with shorter tails. If you want a bow with long tails, you can cut a longer rectangle of fabric.The best width elastic for scrunchies is ¼ inch (6mm). This width stretches easily and can be twisted around your hair several times. If you can't get this width of elastic, try ⅜ inch (1cm). Don't go any narrower as it will stretch out of shape easily. How to Neatly Finish a Scrunchie
- Fruugo ID: 258392218-563234582
- EAN: 764486781913
-
Sold by: Fruugo